Last updated on December 21st, 2025 at 08:16 am
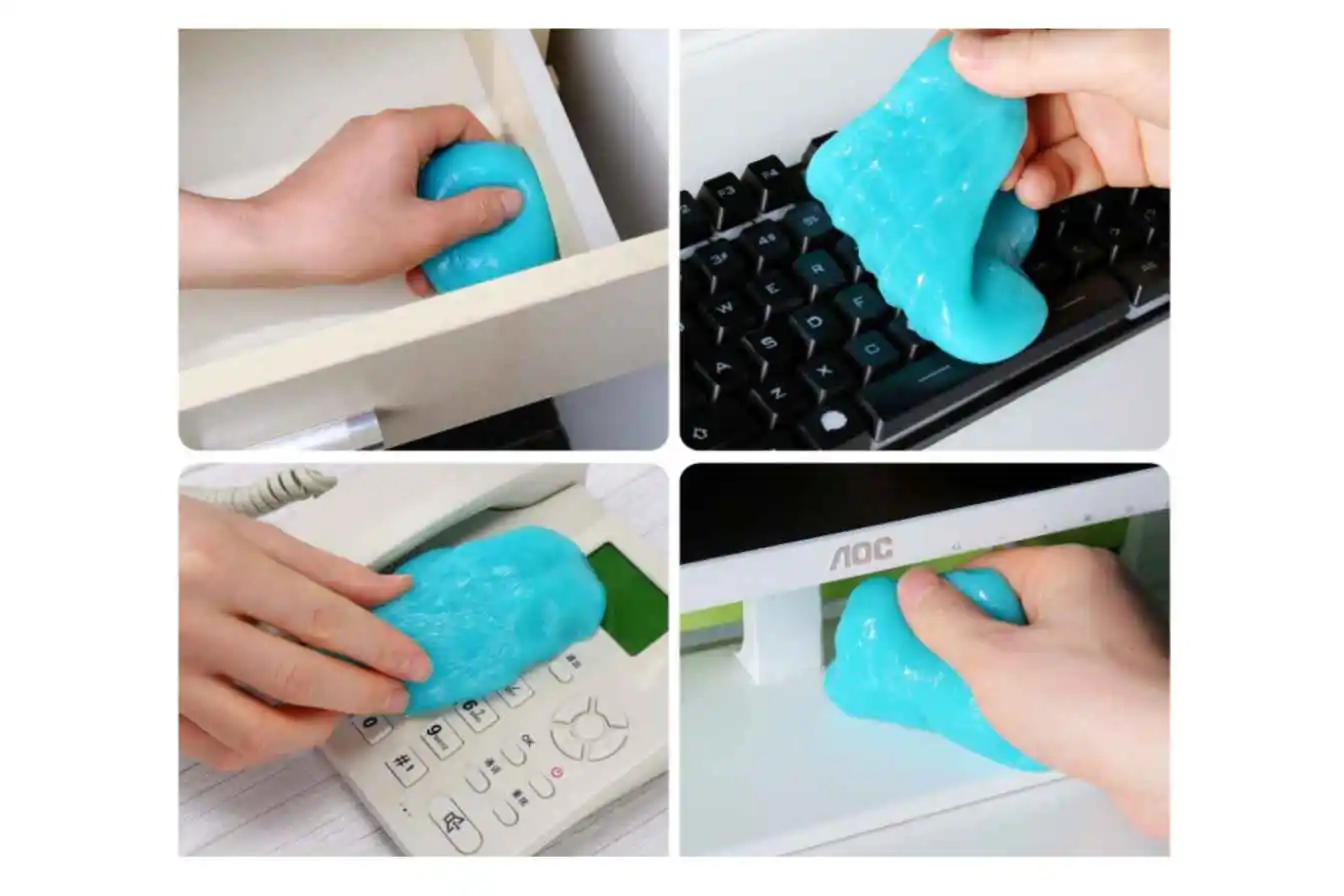
Well, let’s just say that I neglected my keyboard for too long! Crumbs between the keys a mystery sticky spot on the spacebar, and really? I did not want to see what else lurked in there. But when my “E” key began sticking mid-email, I had to accept the truth: It was time to clean this thing.
Here’s what I found that guys like you and me can use to clean a keyboard the correct way without breaking anything or spending several hours doing it.
Why Bother Cleaning Your Keyboard?
I admit, I approached the process of cleaning a keyboard with a certain amount of dread. one of those “maybe someday” chores I just assumed would always be off on the horizon. And then I read that a keyboard can have more bacteria than a toilet seat. Gross, right?
(Also, cleaning it all the time will prolong your keyboard’s life.) Those crumbs and dust? They’re slowly killing your keys. With a weekly quickie and a deep session every couple of months, everything runs like a well-oiled machine.
The Quick Daily Clean (2 MINUTES)
Here’s what I currently do when work is done for the day:
Flip it over and shake it. It sounds simple, but you may be surprised what comes out. I angle mine and give it a couple of taps. I came out of there with enough crumbs to feed a small bird the first time I tried this.
Wipe the surface. I have a microfiber cloth on my desk. Easily wipe your keys off with a damp cloth to remove grease and oil. If the stains are stubborn, get your cloth slightly damp not dripping wet, just a smidgen moist.
That’s it. Two minutes, and your keyboard is looking acceptable once more.
The Weekly Wipe-Down
I go harder once a week:
Grab compressed air. Those little cans from any electronics store are the best. Mine, I discovered from Apple’s cleaning guide, should be held on a 75-degree angle and used briefly. Whatever you do, just don’t hold the trigger down or you’ll have that freezing propellant spray all over the place.
For gunk that won’t budge, try isopropyl alcohol. Here’s the trick use a 70%-to-90% solution, and apply it to your cloth never directly on the keyboard. I learned that the hard way once and sat around for what seemed like an eternity waiting for it to dry.
That’s where cotton swabs shine for cleaning between keys. Simply dunk them in alcohol and outline around the edges.
The Deep Clean (Every 3-6 months)
This is when it gets real. This took me an hour the first time I did it, but now that I’m familiar with the program, 30 minutes.

Step 1: Power Down Everything
Unplug the keyboard or power down the laptop. I realize it sounds obvious, but I’ve noticed that many people don’t do this. Don’t be that person.
Step 2: Remove the Keycaps
Invest in a keycap puller, they cost like $5 on Amazon. Do not pry out the seeds. I’ve tried doing that before and almost broke a key stem.
Pull straight up, don’t wiggle. Type the letter keys on your keyboard, then hit the bigger ones. Make sure to snap a photo before beginning so you can recall where everything goes. Trust me on this.
Step 3: Soak and Clean
Soak the keycaps in warm soapy water. I use dish soap in a bowl and soak them for 20-30 mins. While they soak, I get to work on the keyboard base.
Setting for compressed air first, followed by a cotton swab dipped in isopropyl alcohol to slide through the switches. The PC Bros video I watched had me going across them in a zigzag pattern snags so much more dust.
Step 4: Dry and Reassemble
This part tests your patience. Spread them on a towel and wait until they are completely dry. I mean completely. I wait 24 hours to be safe. Any remaining moisture can ruin the electronics.
Pop them back on once they are bone dry. Match them to your photo. And that satisfying click you hear when they snap into place? Chef’s kiss.
What About Laptop Keyboards?
Since I can’t get the keys off of my laptop, I play it safe. Shut it down, tilt it 75 degrees and bang the compressed air from left to right. For gunk that just won’t let go, you can use a barely-damp cotton swab with isopropyl alcohol.
This process is safe for most laptop keyboards, according to Lenovo’s guide. Try to leave them so thirsty that they are guzzling water as soon as you get them back into the car.
Mistakes I Made (So You Don’t Have To)
Using household cleaners. Kitchen spray coated my keys in a strange stuff. For keycaps only: Stick with isopropyl alcohol or mild soap and water.
Soaking the whole keyboard. Yeah, don’t do this. Only the keycaps go in water. Everything else stays dry.
Skipping the drying time. I went a little overboard once and put them back together prematurely. Three keys simply didn’t work until it dried out. Learn from my mistake.
Tools You Actually Need
You don’t need fancy stuff. Here’s what I keep in my desk drawer:
- Microfiber cloth
- Can of compressed air
- Small bottle of 70% isopropyl antique oil can
- Cotton swabs
- Keycap puller (if you have a mechanical keyboard)
Total investment? Maybe $20. Better than getting a new keyboard every year.
The Bottom Line
Learning how to clean a keyboard and do it right isn’t as hard as you might think. A few minutes of routine maintenance is better than tinkering with sticky keys or replacing your entire setup.
Been going two years strong with my keyboard. No more embarrassing typos courtesy of stuck keys and honestly? It’s just more enjoyable to type on something clean.
Begin with the short daily shake-out. Toss in the weekly wipe-down when you feel like it. And when those keys start feeling nasty? That’s your signal for the deep clean.
Your fingers (and your keyboard) will thank you courteously.
Read:
6 Applications For Precise Temperature Control: Your Home’s Secret to Comfort and Savings
I’m software engineer and tech writer with a passion for digital marketing. Combining technical expertise with marketing insights, I write engaging content on topics like Technology, AI, and digital strategies. With hands-on experience in coding and marketing.