Last updated on December 21st, 2025 at 09:53 am
I have been making YouTube content for a long time now, and also? They look rough. We’re talking 1080p footage that looked good two years ago but now looks grainy in comparison to everyone else’s sharp and high-resolution 4K uploads. Oh, and my recordings of low-light gaming were practically unwatchable.
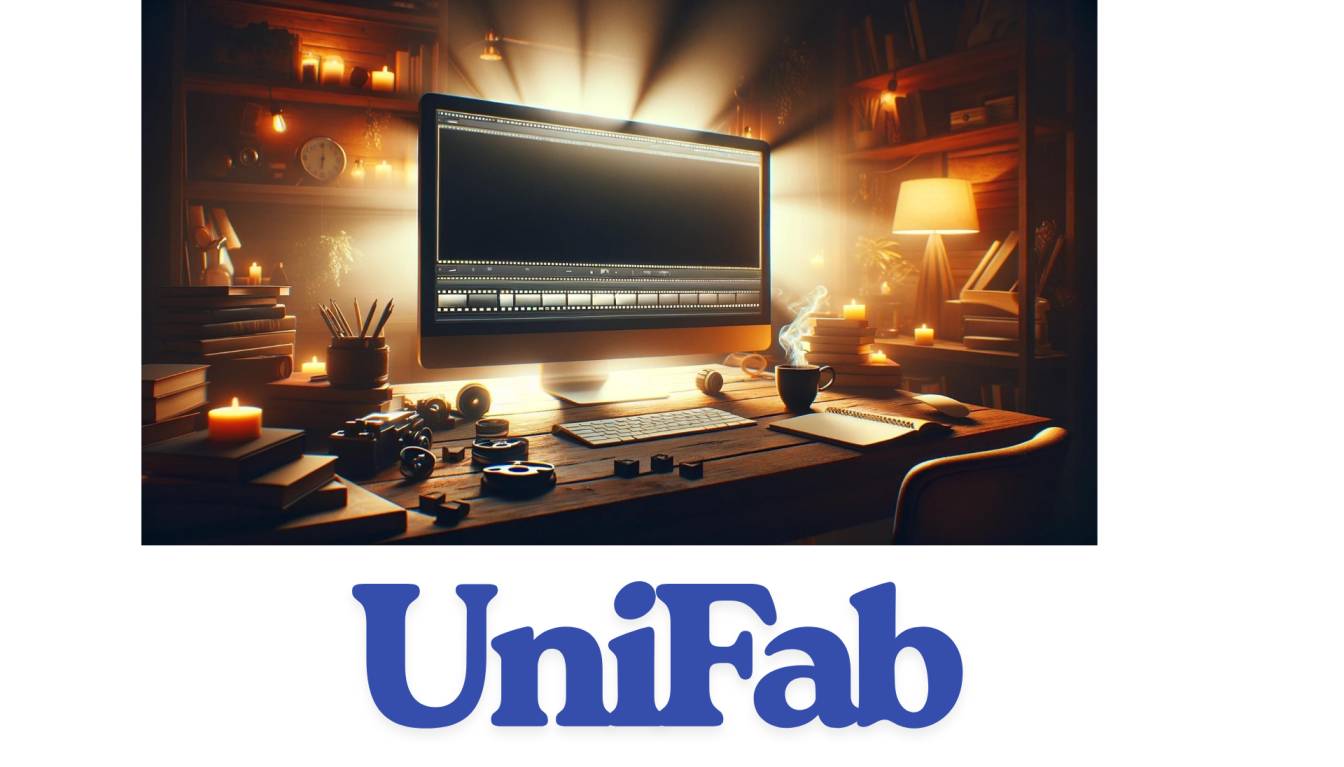
I’d read about AI video enhancement tools before, but most seemed like overkill or needed a computer science degree to figure out. I decided to test UniFab Video Enhancer, here’s what really happened.
Why I Wanted This in The First Place
My channel is a mix of vlogs, tutorial stuff and some gaming clips. The problem? Three cameras, varying quality of lighting, and an entire library of 1080p videos that YouTube’s algorithm was already more or less ignoring because they weren’t “professional looking” enough.
I needed something that could:
- Uprez my 1080p shit to 4k without looking too unrealistic
- Fix my noisy game even with a dimly lit room
- Not having to wait 3 weeks for a 10 minute video to be processed.
That’s a tall order. Earlier tools I’d tried either broke my system or made everything super-sharp to the point of a mess.
Creating Your UniFab: It’s not As Hard As it Seems
Here’s the first shocker that new AI Autopilot feature is for real. You drop in your video, and the software churns through it, recommending which AI tools to use. No guessing as to whether you want the “Texture Enhanced” model or the “Speed Optimized” one.
I began with an old vlog at a coffee shop. Awful lighting and recorded in 1080p on my phone. The AI model suggested the tool Denoise in addition to the Vide Upscaler (Quality Optimized). I hit “start” and walked away to make lunch.
My specs: windows 11, 16gb ram and NVIDIA RTX 3060. Not top-of-the-line, but decent. It took about 45 minutes to process a 12-minute video. Not instant, but significantly quicker than I thought it would be for AI upscaling.
The Good Results: This Is Where It Became Interesting
When I accessed that first enhanced video, I stopped and played through the same section three times. The difference was legitimately noticeable.
The upscale from 1080p to 4K didn’t just stretch the pixels. it enriched detail. Faces became more defined, text in the distance was now legible and it all just had this high-end quality that my original footage didn’t have. It’s as if someone had cleaned a dirty window. Same view, and suddenly all is clear.
But here’s the part that really sold me: the low-light footage. I had this gaming tutorial where half the screen was just noise because my camera is shit in low light. UniFab’s Denoise AI cleaned that up without causing everything to look soft or as if it was painted. The information remained, while the grainy static just … vanished.
I tried it on three more videos:
- A walkthrough with Mystery Man’s shaky, handheld footage (had to use the Stabilizer AI)
- An ancient, long lost vlog in need of color.
- A choppy gaming montage
All three came out significantly improved. Not “perfect Hollywood production” yet, but just good enough that I’m making my way through my archive and improving everything worth keeping.
What I Wish I Knew Before Starting
GPU matters. Like, really matters. My RTX 3060 took the pace just fine, but as soon as I tried to process 4K source footage, it simply ground to a halt. The documentation says runs on 8GB of VRAM for normal work, and 12.5 GB for HDR stuff. Check your specs first.
Start with short clips. Don’thonk your 45-minute podcast episode in there as a first test. An hourlong segment forces you to experiment with different settings, and then maybe there’s a way to scale up. Got that one the expensive way.
You get three videos in the trial. Fair enough, but let’s make those three of some use. Test various types of content so that you can get a feel for what it’ll be able to handle before making that purchase.
Workflow I Have Found Works For Me
Here’s what i do now that i’ve edited maybe twenty or more videos:
- “Throw the video into UniFab and let AI Autopilot digest it.”
- Heed its recommendations – often it gets there right!
- Set the resolution you’re outputting (I usually go 1080p -> 4k)
- Turn on GPU acceleration in settings (do not skip this)
- Begin working on this and start editing additional content
The batch processing is a life-saver if you have several videos. Queue them overnight, wake up to improved footage that’s already uploaded.
Is It Worthwhile for Content Creators?
But if you have video in the archive from years ago that still gets views but looks out of date yeah, give it a shot. The quality of the upscale is genuinely good, and when you add up all this time saved versus manually colour correcting and sharpening, it becomes pretty swiftly.
The free trial offers three videos to try out. I’d prioritize using these on your most valuable back catalog content first the old stuff that’s still driving traffic but looks incredibly dated next to current uploads.
One heads-up: this isn’t magic. If your source footage is completely trashed, or compressed to high heaven, UniFab is limited in the dark magic it can perform. But for normal 1080p content to which you only want a quality upgrade? It’s one of the best tools I’ve discovered.
Final Take
I went into this skeptical. I’ve tried out too many “AI-powered” tools that hardly worked to risk getting excited. But actually, UniFab looked decent on the upscaling quality, and that’s what matters most for content on YouTube.
Sharper videos, usable low-light shots and no more hours spent manual-tweaking every clip. That’s a win in my book.
If you are creating content and having trouble with poor video, give it a try. Just confirm your GPU can handle it, start with shorter clips, and don’t expect miracles from footage that’s already toast. But for everything else? It’s a good thing to have added into my workflow.
Read:
How to Convert MP4 Videos to WMV: What Worked for Me
Canon EOS R100 Review: Your First Real Camera, Explained
I’m a tech writer passionate about simplifying complex topics like AI, cybersecurity, and digital trends. I create engaging, accurate content for both experts and everyday readers. From product reviews to future tech insights, my goal is to inform, inspire, and keep readers updated on the fast-paced world of technology with clarity and relevance.