Last updated on December 21st, 2025 at 07:09 am
Yeah, so I’ve been pushing to Silksong and I was curious why my Red Tools were feeling weaker than other weapons. It turns out there’s a whole upgrade system in the Crafting Kit that I missed. Once I figured it out? Everything clicked.
Here’s the skinny there are four Crafting Kits to be discovered over the course of gameplay, using one will upgrade your tool damage by a notch. Allow me to explain exactly how to pull them all down.
What Crafting Kits Actually Do
Before we go digging for the guys, let’s find out what they do. Filling your Tool Damage meter (circles) each costs one Crafting Kit. Pick up all four and you’re maxing out the damage output of your Red Tools (bombs, traps, projectiles). The cool part? Once you grab a kit, it’s automatically applied no bench visits or activation required. Just grab it and go.
One thing to note is that Crafting Kits only buff Red Tools. These won’t affect mates of mine using Flintslate, Flea Brew or Plasmium Phial. But what if you had access to max tool damage and the right Crests? That’s when boss battles become a whole lot easier.
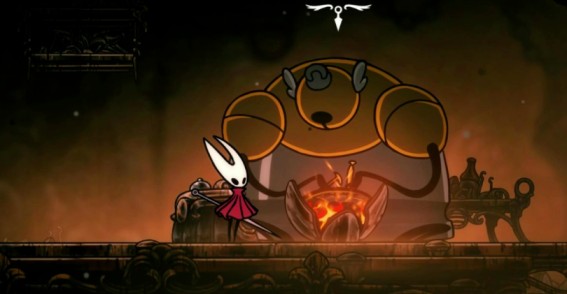
Tier 1: Your first reward for 180 Rosaries will be the Forge Daughter in Deep Docks.
This is your first stop, and to be honest it’s fairly early game accessible. Go back to Deep Docks (your favorite, you know it) and from the central area of lava death chamber make your way. The Forge Daughter is near a bench. The first Crafting Kit can be purchased from her for 180 Rosaries.
The catch? For one, before you can even really get into Deep Docks you’ll need the Silkspear ability. If you don’t already have that, concentrate on advancing your story first. After you get Silkspear and the path to Deep Docks is clear, this buy is a no-brainer. First damage tier locked in.
Tier 2: Crawbug Clearing Wish at Greymoor (Free)
Here’s where it gets better. You can get your second Crafting Kit for no charge whatsoever. Sounds too good to be true? Well, it sort of is, but here:
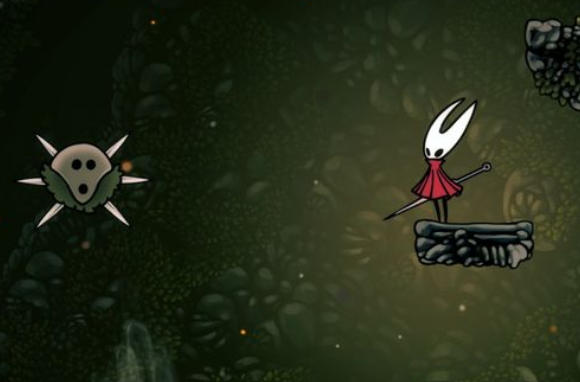
1) Free Bellhart by killing the Widow Boss. Yeah, it’s a boss fight, but you’ll reach that in the story eventually. After you’ve freed Bellhart head to the Wish Board and take the “Crawbug Clearing” quest.
The task: Gather 10 Crawbug Ragpelts and give them to Creige at Halfway Home. Sounds grindy, I know. But honestly? Crawbugs tend to spawn fairly frequently as long you know where to look. Farm a little, turn in your haul and voilà: The second tier is yours. Free upgrades hit different.
Tier 3: Twelfth Architect in Underworks (450 Rosaries)
Now we really start playing. Chill with the Twelfth Architect in Underworks, beyond the main bench and above the Choral Chambers. Price tag: 450 Rosaries. Yes, it’s more expensive than the first one but if you’ve been farming side quests then you should have enough money saved by now.
Clawline is actually the metro in this case. You’ll earn that more organically afterward storywise, so don’t stress if you can’t access this yet. When you have Clawline Unlocked, Swing over to Underworks and grab your tier 3 damage.
Tier 4: Grindle in Blasted Step (700 Rosaries)
One more, and it is the most expensive, 700 Rosaries. It went on at Blasted Steps, west of the Bell Way Station.” Longplay: This one will take the Faydown Cloak (your double jump power), so you’re going to need some serious traversal skills if you want to make it over there. Make sure to have that equipped before you walk out the door.
Here’s the thing: at the point you’re hunting Tier 4, you should be well into the game. Your Rosary supplies might be depleting. But here’s my tip do every task on those Wish boards and run through every side quest you find. The money quickly accumulates more than you would expect.
Getting There Faster: Strategy Tips
Farm smarter, not harder. Snag tiers 1 and 2 as soon as possible. particularly the free Crawbug quest. That gives you some breathing room before the big purchase creeps up.
Don’t sleep on side quests. Wish board activities and NPC quests dole out Rosaries like candy. Do them as you explore, rather than rushing the main story.
Plan your route. Understand which traversal powers open up which areas. Silkspear opens Deep Docks, Clawline taks you to Underworks and Faydown Cloak unlocks the third kit. This progression matters.
Pair upgrades wisely. Once you have an inventory full of Crafting Kits, equip those favorite Red Tools and pair them up with Crests that play nice. Maxed in the wrong hands can make harrowing encounters a joke.
Final Thoughts
It’s not even really difficult to gather all of the four Crafting Kits when you know where to focus. The most difficult part of it all is grinding up those Rosaries and getting the traversal powers. But honestly? It’s worth the effort. Those Red Tools of yours go from just fine to downright devastating, and the power-up they provide really takes a lot of the frustration out of the endgame.
You can take your time and Wish-board them one tier at a time. Before you know it, you’ll be melting boss health bars with powered up kit. Now go get those kits.
Also Read: Hollow Knight Silksong Gameplay Guides: Everything You Need to Know
I’m a gaming writer who dives into reviews, guides, eSports, and industry trends. From immersive RPGs to competitive shooters, I explore gameplay, stories, and the culture around gaming. My content blends passion with analysis, aiming to engage players of all levels and celebrate the artistry, innovation, and excitement that define the gaming world today.